
Tis the season to make everything a little more spook-tacular! Whether you’ve just moved into your home or not, it’s fun to decorate for Halloween… and the kids always love being able to help! We’ve put together a list of 5, super easy paper crafts that your kids can make at home with a fairly streamline list of supplies that you probably already have around the house. So get out your scissors and glue… and let’s begin!
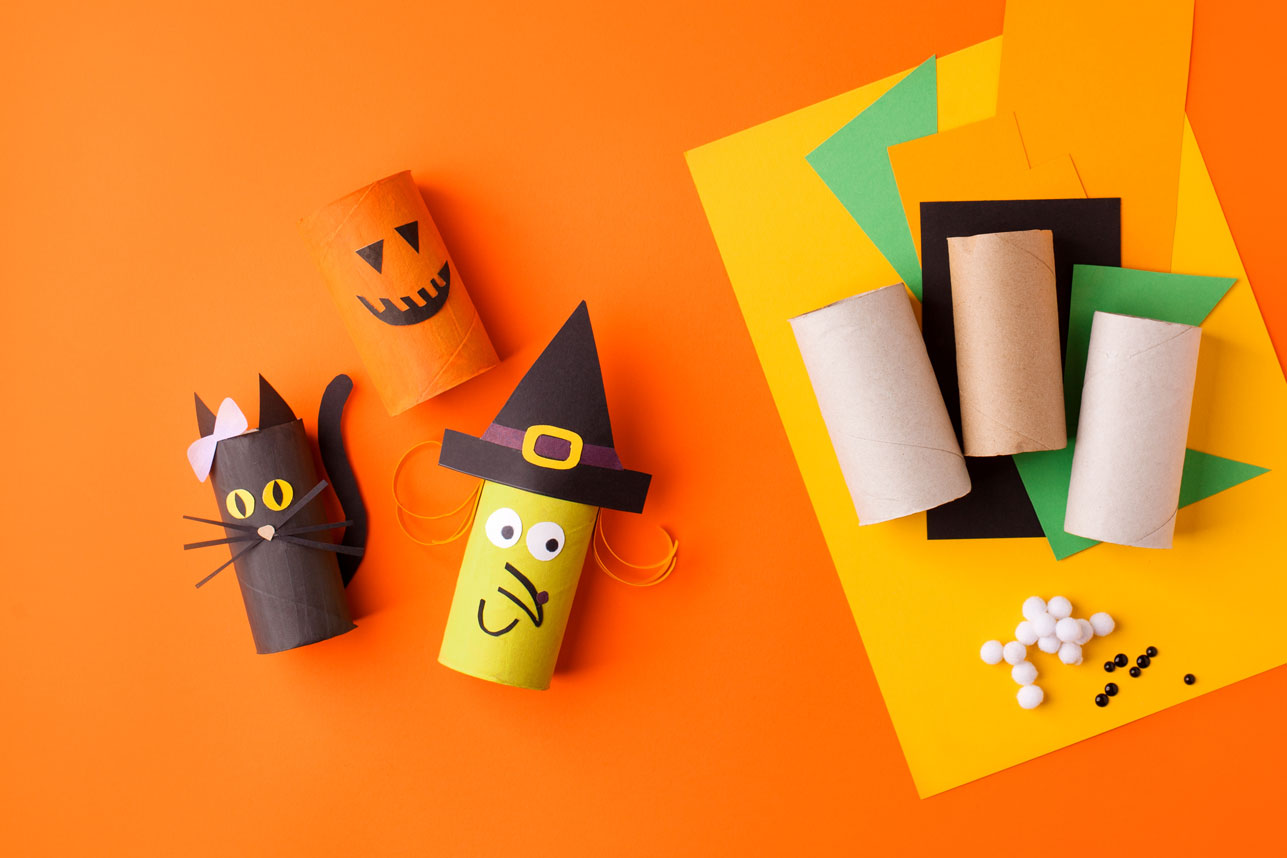
Paper Craft #1 – Spooky Paper Roll Characters
We’ve all been coveting toilet paper this year… but how about those empty rolls? We love this idea to create spooky-cute characters! Let your imagination be your guide!
What You’ll Need: Toilet Paper Rolls or Paper Towel Roll cut shorter + assorted construction paper, scissors + glue
Optional add-ons: Paints, markers, googly eyes, pom poms

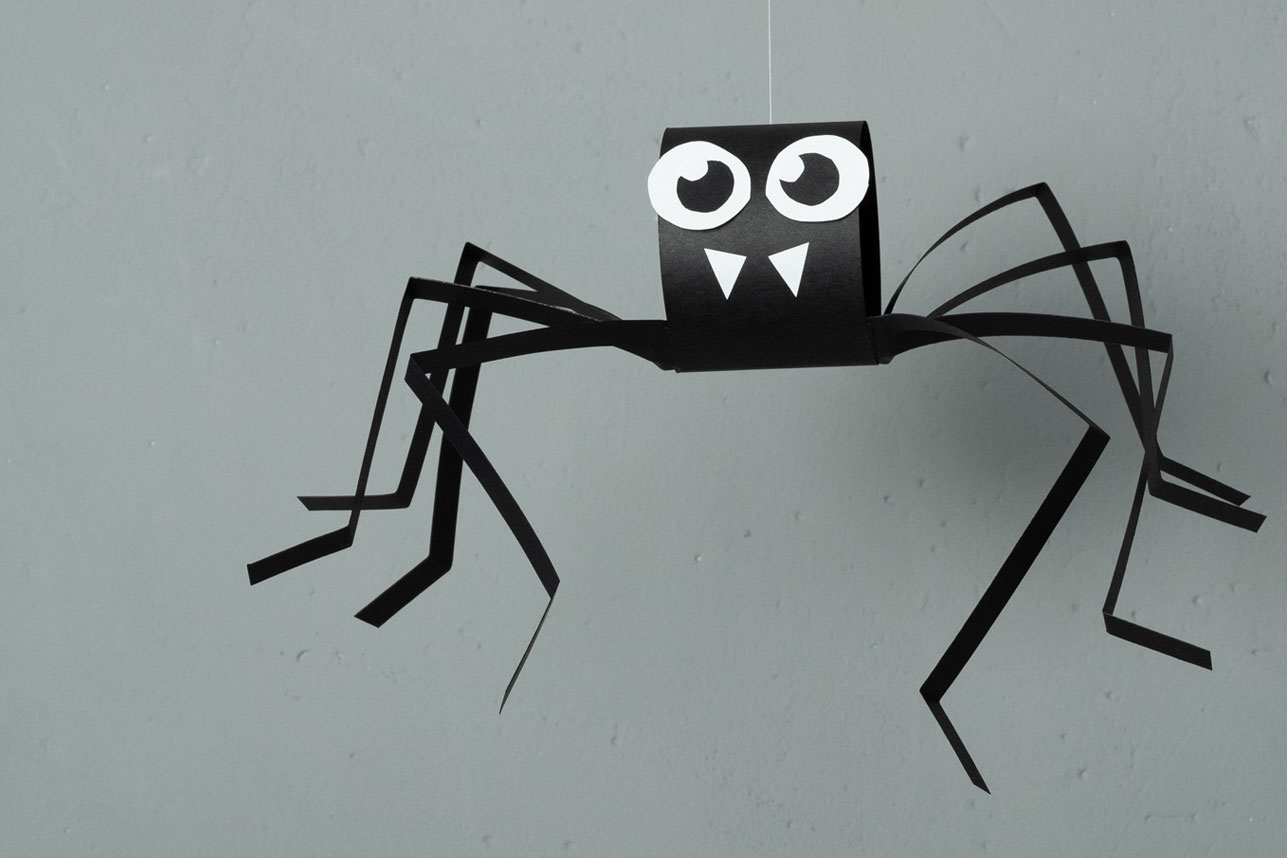
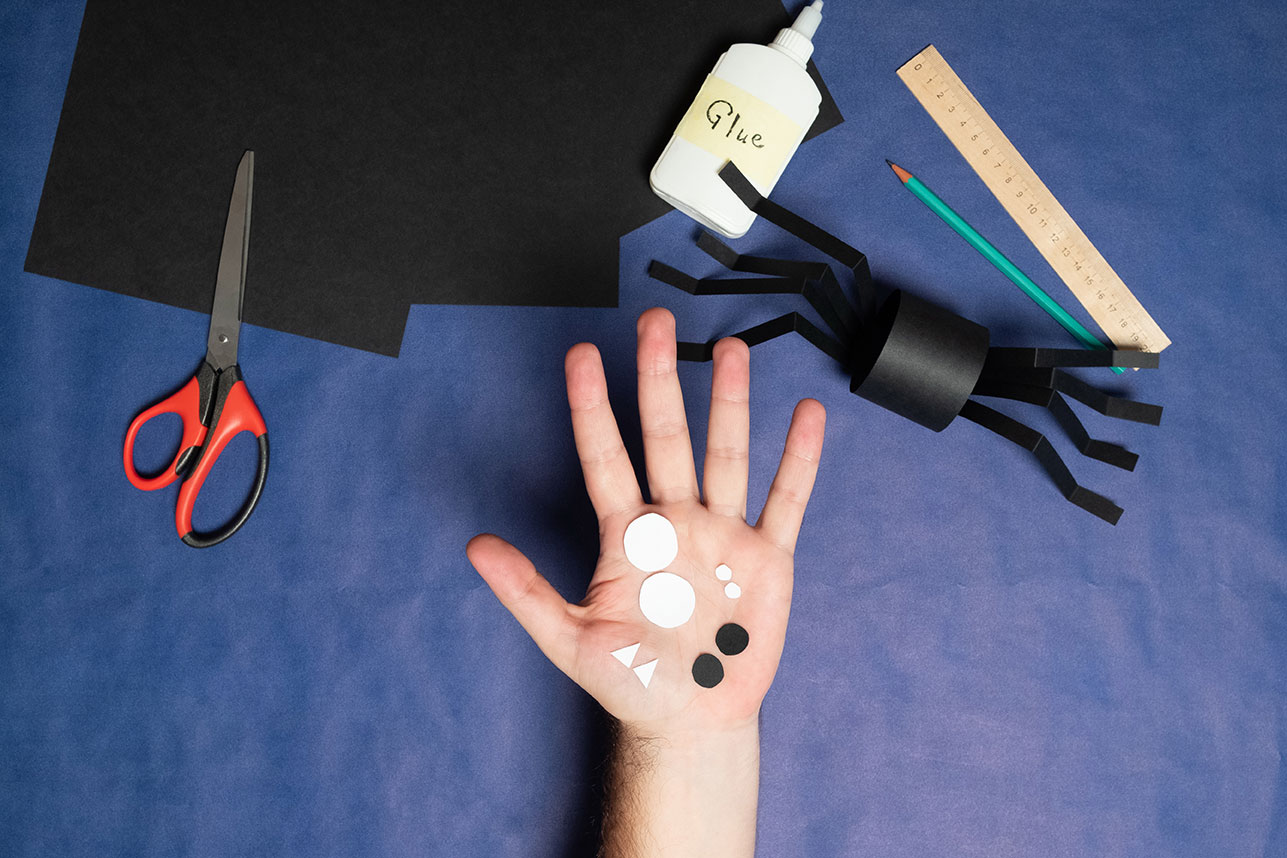
Paper Craft #2 – Springy Spider
Hang a grouping of these spiders in the doorways to give guests a fright! The fun of this spider craft is in it’s ‘legs for days’. Make sure to cut out 8 strips of paper and accordion fold them to give them life and movement as they hang from the spider’s body. Make them as long as you’d like!
What You’ll Need: Black and white construction paper, scissors, glue/tape, string to hang
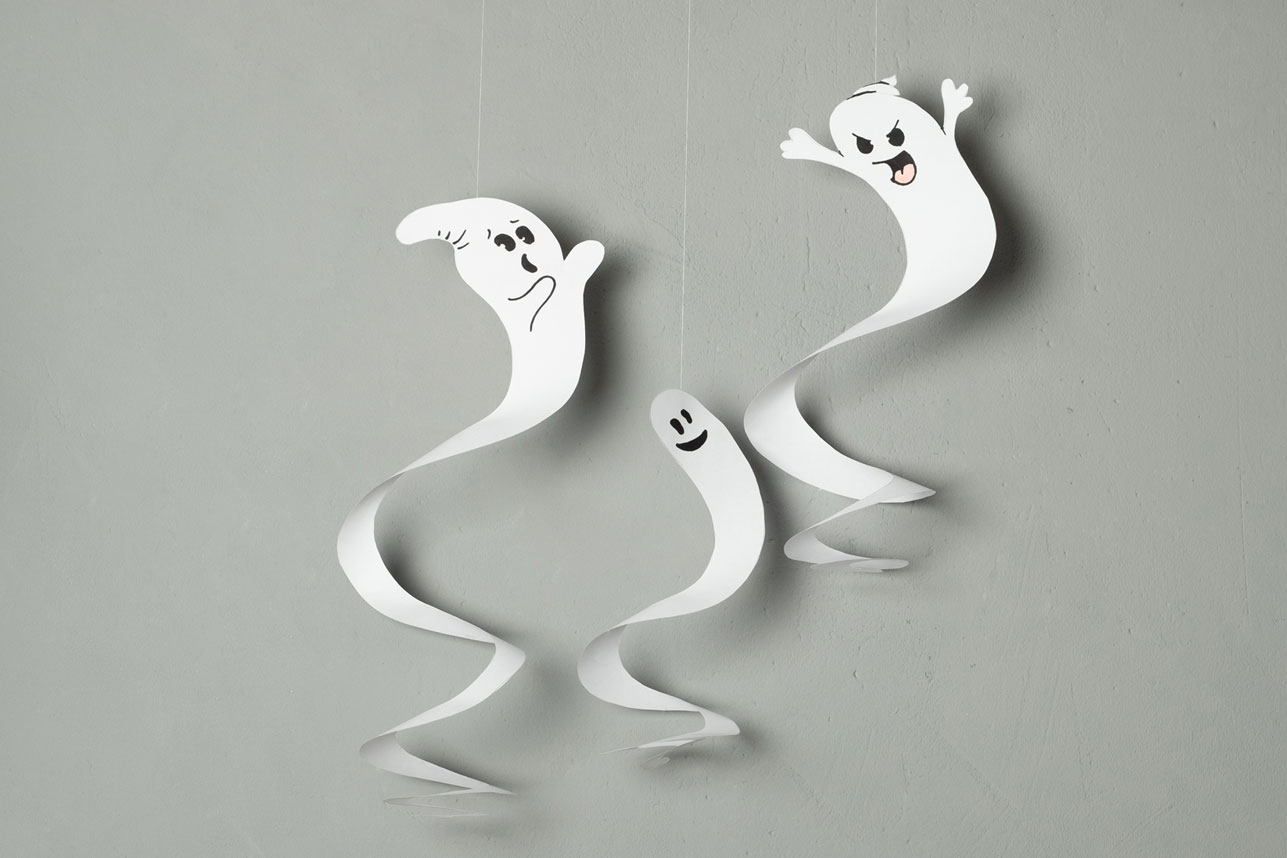
Paper Craft #3 – Swirling Ghosts
Bring your inner artist game to create a variety or swirling ghosts to hang! Simply draw your ghost on white paper and rather than drawing it’s ‘tail’, swoop it’s body into a round circle. (See below – It will kind of resemble a snail) When you cut out the ghost, keep cutting a spiral. Once the ghosts have been trimmed, they will come to life and the spiral will drop into a swirling tail. Boo! Ghostly!
What You’ll Need: White paper, black marker, pencil and scissors + string to hang.

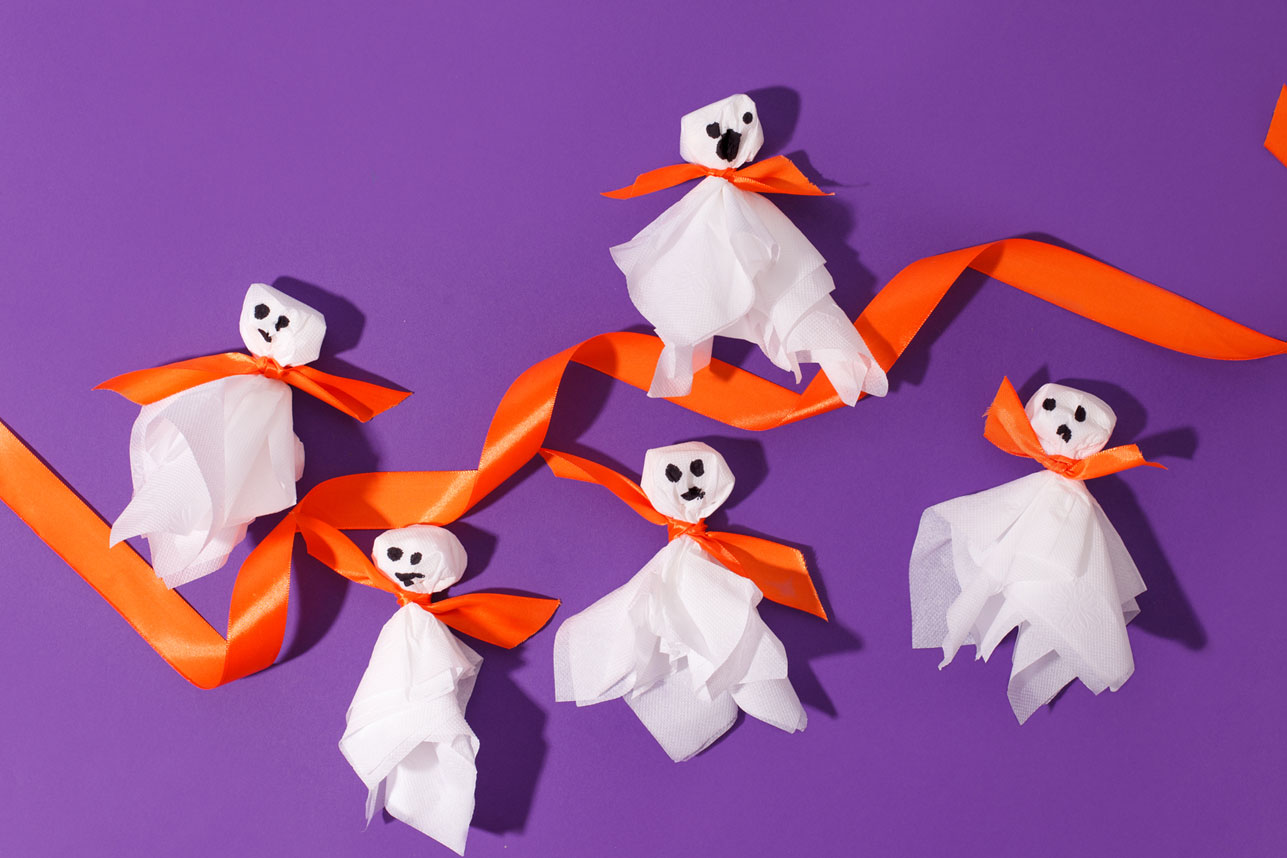
Paper Craft #4 – Tissue Ghosts
Don’t cry… these ghosts aren’t scary… they are actually kind of cute! Especially when you hang them together as a garland! Simply use household tissues and ribbon. Bunch up one tissue into a ball and use a second to drape over it, fastened at the neck with a ribbon bow. Draw on the faces of your choice with black marker.
What You’ll Need: Tissue Paper, Ribbon, Black Marker
Optional add-ons: Extra ribbon or string to create a garland.
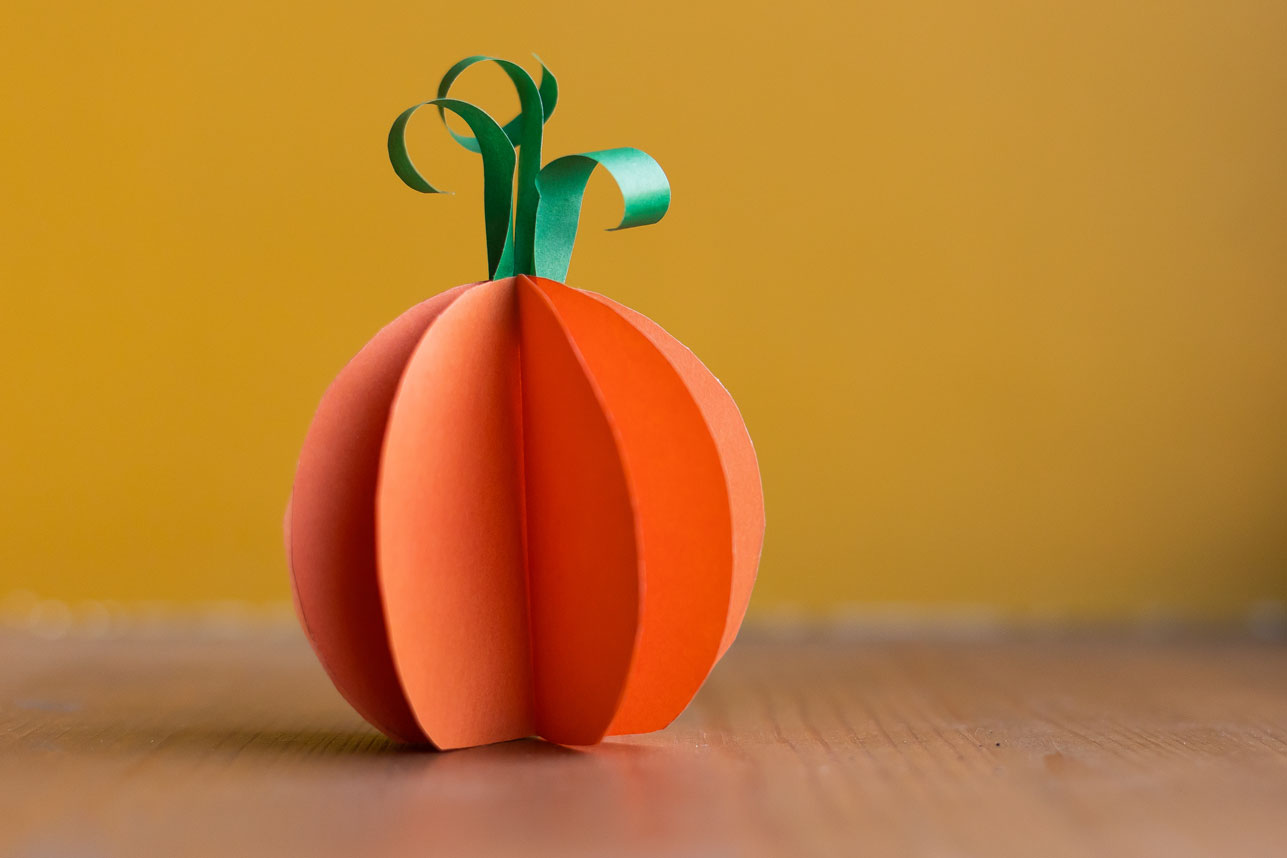
Paper Craft #5 – Cutesy 3D Pumpkin
Creating these perky pumpkins is as simple as cutting out 5-6 identically-sized circles. With the circles stacked, cut straight across the bottom. This will give the pumpkin a flat platform to sit on. Fold each ‘circle’ in half and glue halves together to create a round 3D shape that sits up. Using black, brown or green construction paper, cut out your stem. In this case, 3 stems in varying heights were cut out and curled around a pencil. Glue and tuck stems down into the centre of the pumpkin. Voila!
What You’ll Need: Construction Paper, scissors, glue, and a pencil.
Happy Crafting Friends!


