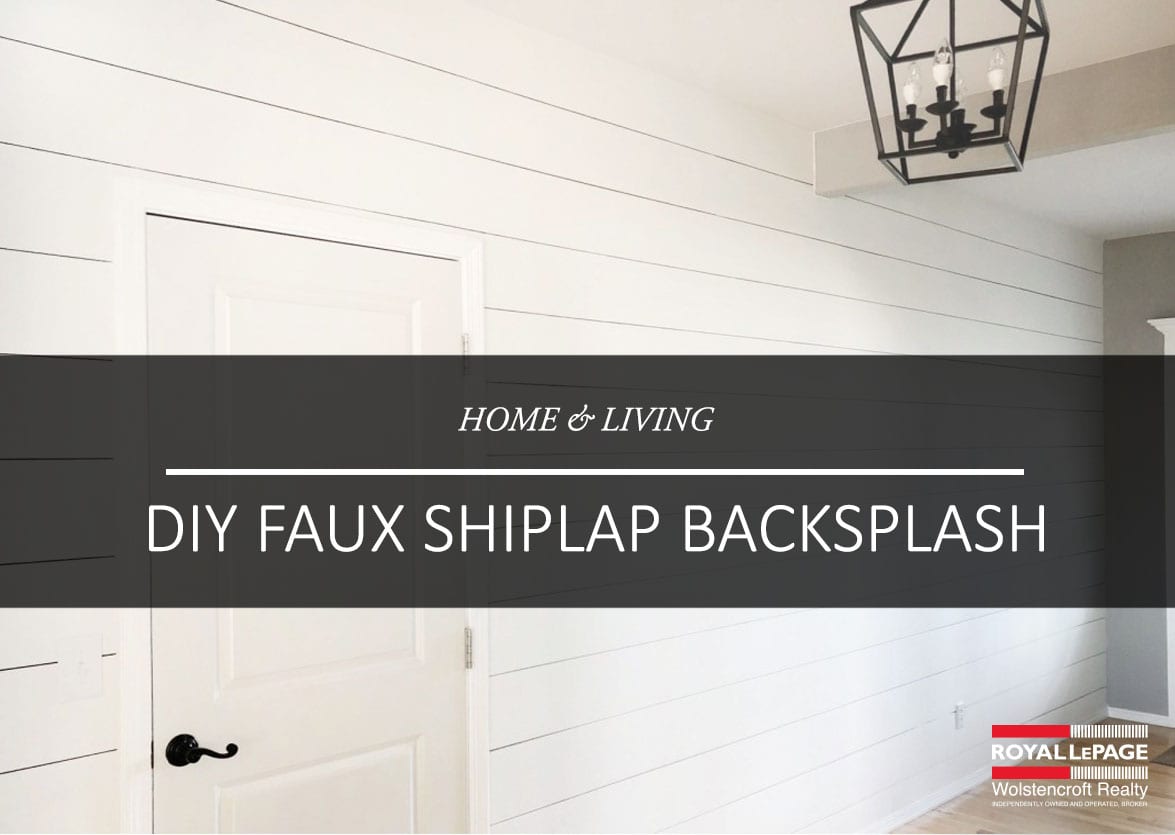
We love scouring the internet for DIY tutorials to share with you, and we found another great one!
An easy home improvement project that you can complete without spending a large amount of money for a huge impact. This faux shiplap backsplash uses adhesive flooring to create an easy backsplash. No serious woodworking or carpentry skills required and of course, no tile cutter needed. If you love the look of a pretty tile backsplash, but cannot exactly lay tile yourself or afford it, try this cool tutorial.
Tutorial Source: All Things With Purpose
WHAT IS SHIPLAP
The term “planked wall” is a very broad term that refers to a super popular trend for interior walls. Planked walls have come and gone in popularity over the years. A while back, the natural wood of tongue and groove paneling was very popular as an accent wall. Tongue and groove wall planks were known to be installed vertically or horizontally. Planks are sometimes made out of pine board or even MDF.
Traditional shiplap walls on the other hand are usually installed horizontally and are very common as interior and exterior siding – especially in old farmhouses and especially in Texas apparently! The term “shiplap” has become a buzz word in recent years thanks to the Texas based HGTV show “Fixer Upper” and hosts, Chip and Joanna Gaines.
We all LOVE that warm farmhouse feel of bright, white shiplap. The term “shiplap” technically refers to the specific cut of wood and how it comes together. But in most cases, you can get the rustic look you want in your modern farmhouse, without specifically using a shiplap board.
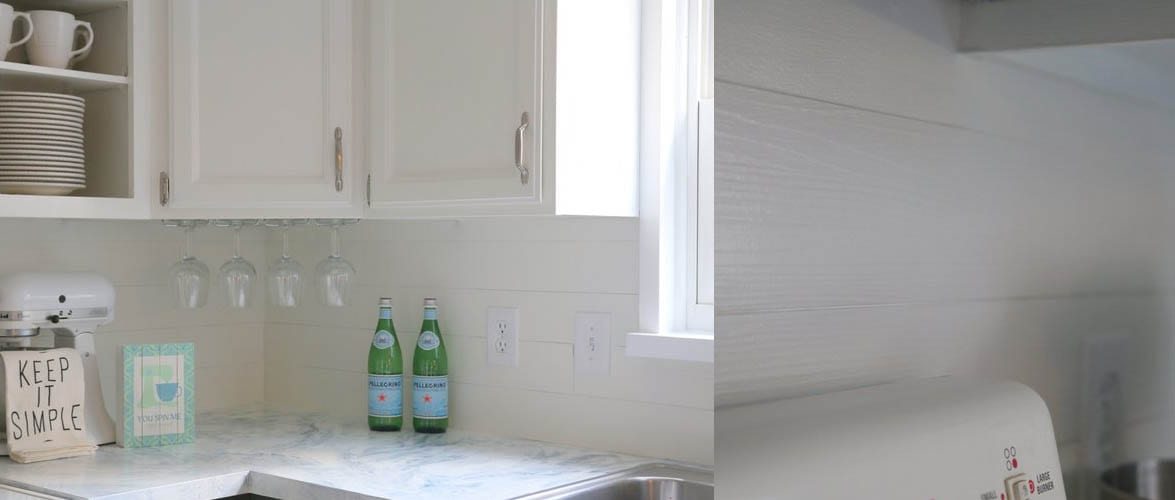
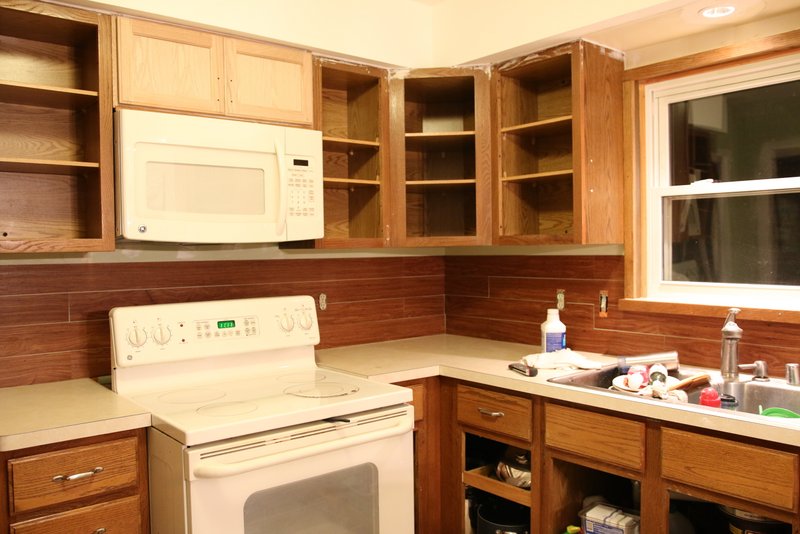
In my case, I created the look of real wood shiplap paneling using vinyl wood floor planks instead of wooden boards!! For about $20 I bought one package of peel and stick flooring. This can be used on a kitchen island, in a mud room or to create a cozy bedroom look.
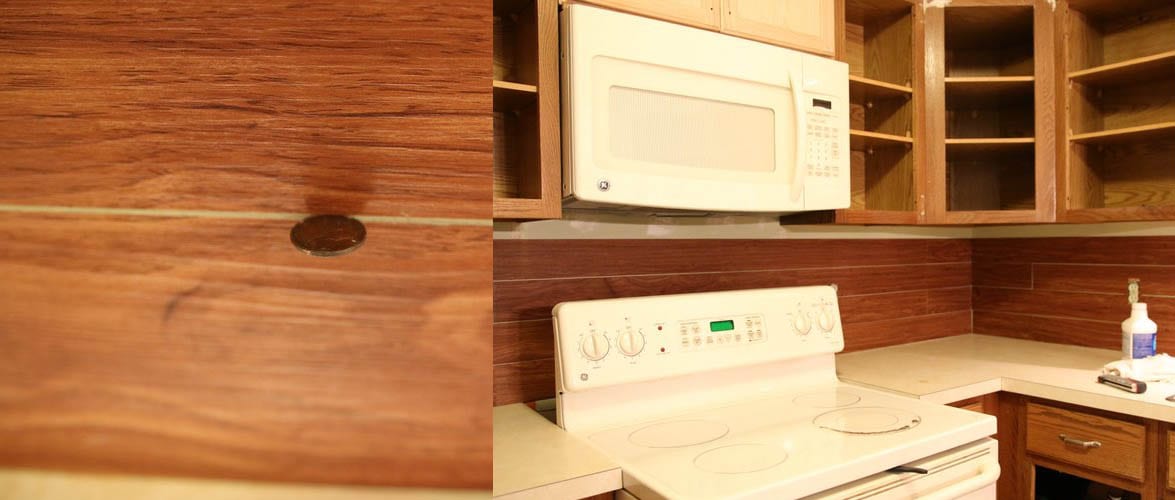
I started with a clean, dry surface. My wall surface was a vinyl sheet that had been previously painted. I started on the bottom and simply lined my first plank up with the counter. I positioned the next plank directly beside the first until I reached a corner.
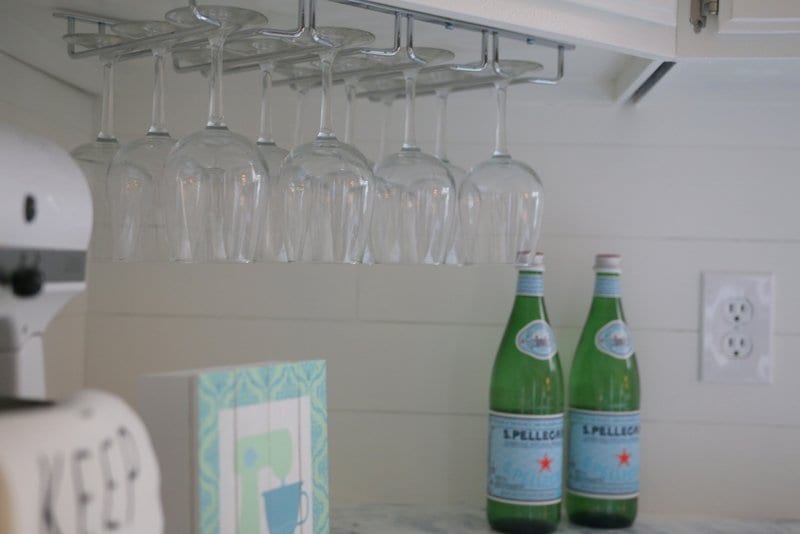
The vinyl is super easy to cut and only needs to be scored with an exacto knife. For my next row up, I cut a piece in half so the boards would be staggered and spaced it above the first row using a penny. Press on each board, firmly as you go. Follow package instructions for specific pressure and timing. Some may recommend using a rolling pin.
I left a small space between the planks and the bottom of the cabinets. I chose not to spend time cutting any planks horizontally to fill that gap. I planned on painting my cabinets and shiplap all the same color, and figured it would blend together well.
I painted the boards first using Stix primer. Then, I painted with the same color as my cabinets: Benjamin Moore Dove White.
***TIP! The trick while painting, is to make sure the paint doesn’t settle into your cracks and fill them up. You want that defined horizontal line to create a rustic and natural look. I continually cleaned out the crack using a wood skewer.
I love the fact that even though it’s vinyl, the wood grain look comes through! If installing this as a backsplash, I recommend sealing along the countertop with silicone.
SUPPLY LIST
- Liquid Sander
- Stix Primer
- White Paint(I used Benjamine Moore Advanced in Dove White)
- Vinyl Wood Planks(Mine are from Menards, but these are similar and can also be found at Home Depot)
- Exacto Knife
- Pennies
- Wood skewer or pointed stick to keep cracks clean
- Silicone Sealant
Tutorial Source: All Things With Purpose


